
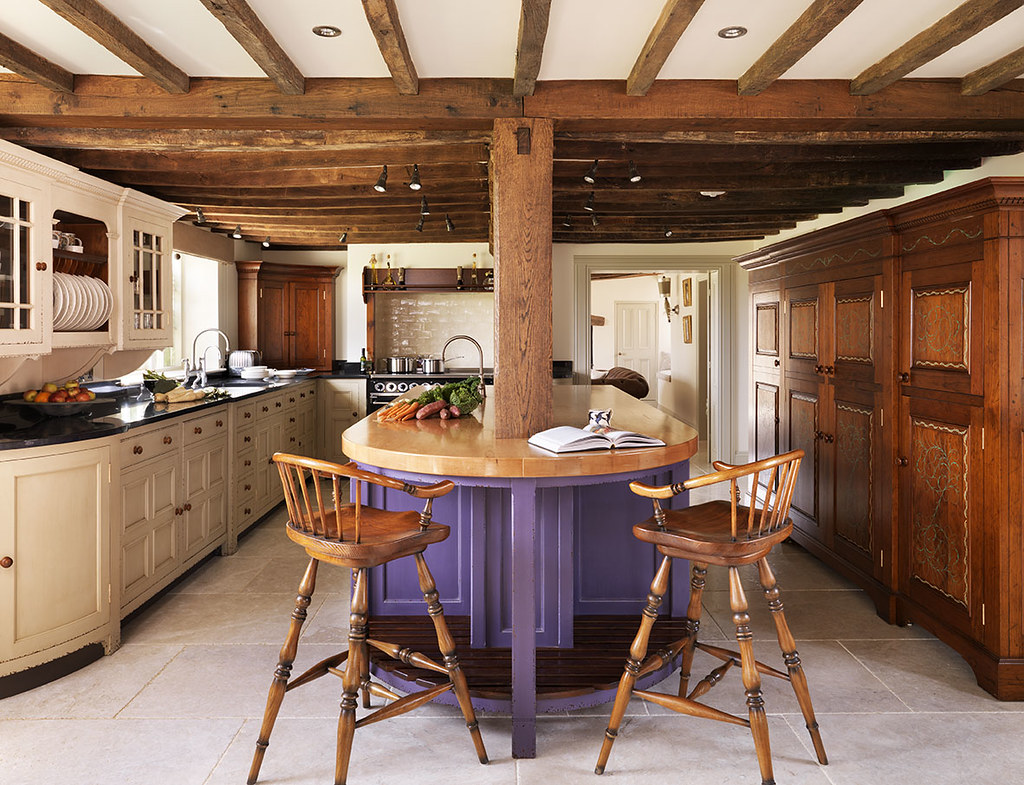
When it comes to updating the look of your kitchen, removing crown molding from kitchen cabinets can make a significant difference. Whether you’re planning a full renovation or just a simple makeover, knowing how to properly remove crown molding is essential. In this comprehensive guide, we’ll walk you through the step-by-step process of removing crown molding from kitchen cabinets, ensuring a smooth and successful project.
Gathering the Necessary Tools and Materials
Before you start the crown molding removal process, gather the following tools and materials:
- Pry bar
- Putty knife
- Hammer
- Safety goggles
- Gloves
- Painter’s tape
- Adhesive remover
- Sandpaper
- Dust mask
Preparation: Clearing the Workspace
Begin by clearing the area around your kitchen cabinets. Remove any items that might hinder your movement during the removal process. Cover countertops and appliances with protective materials to prevent accidental damage.
Assessing the Attachment Method
Check how the crown molding is attached to the cabinets. It might be attached with nails, adhesive, or both. This assessment will guide your approach to removal.
Removing Crown Molding: The Steps
Loosening Any Paint or Caulk
If the crown molding is painted or caulked, use a putty knife to gently loosen the edges. This will make it easier to remove the molding without damaging it or the cabinets.
Using a Pry Bar to Safely Remove Molding
Carefully insert the pry bar between the molding and the cabinet. Apply gentle pressure to separate the molding from the cabinet. Move along the length of the molding, gradually prying it away.
Working Carefully Around Corners
When you reach corners, proceed with caution. Use the pry bar to carefully navigate around corners, ensuring that the molding comes off evenly.
Dealing with Nails and Adhesive Residue
After removing the molding, you might find nails or adhesive residue. Use a hammer to gently tap out any exposed nails. For adhesive residue, apply an adhesive remover and gently scrape it off with a putty knife.
Cleaning and Preparing for Reinstallation
Clean the cabinet surface and the removed molding to prepare for potential reinstallation or replacement. Sand down any rough areas for a smoother finish.
Considering Cabinet Refinishing Options
Since you’ve removed the crown molding, now might be a good time to consider refinishing your kitchen cabinets. Explore different options like painting, staining, or even installing new cabinet doors for a fresh look.
Benefits of Professional Help
If you’re unsure about removing crown molding yourself, consider hiring a professional. They have the expertise and tools to ensure a safe and efficient removal process.
Safety Precautions During the Process
Wearing Protective Gear
Always wear safety goggles, gloves, and a dust mask to protect yourself from dust and debris.
Avoiding Damages to Cabinets
Be gentle while using tools to prevent any damages to the cabinets themselves.
Reinstalling or Installing New Cabinets
After successfully removing the crown molding, you have the option to install kitchen cabinets or consider new ones. This presents a fantastic chance to revitalize the look of your kitchen space.
Tips for Upcycling Crown Molding
Don’t let the removed crown molding go to waste. Consider repurposing it for other projects, such as picture frames or decorative wall pieces.
Removing crown molding from kitchen cabinets is a rewarding DIY project that can instantly transform the look of your kitchen. By following these step-by-step instructions and taking safety precautions, you can achieve impressive results. Whether you’re planning a complete renovation or a simple update, mastering the art of crown molding removal gives you the freedom to create the kitchen of your dreams.