
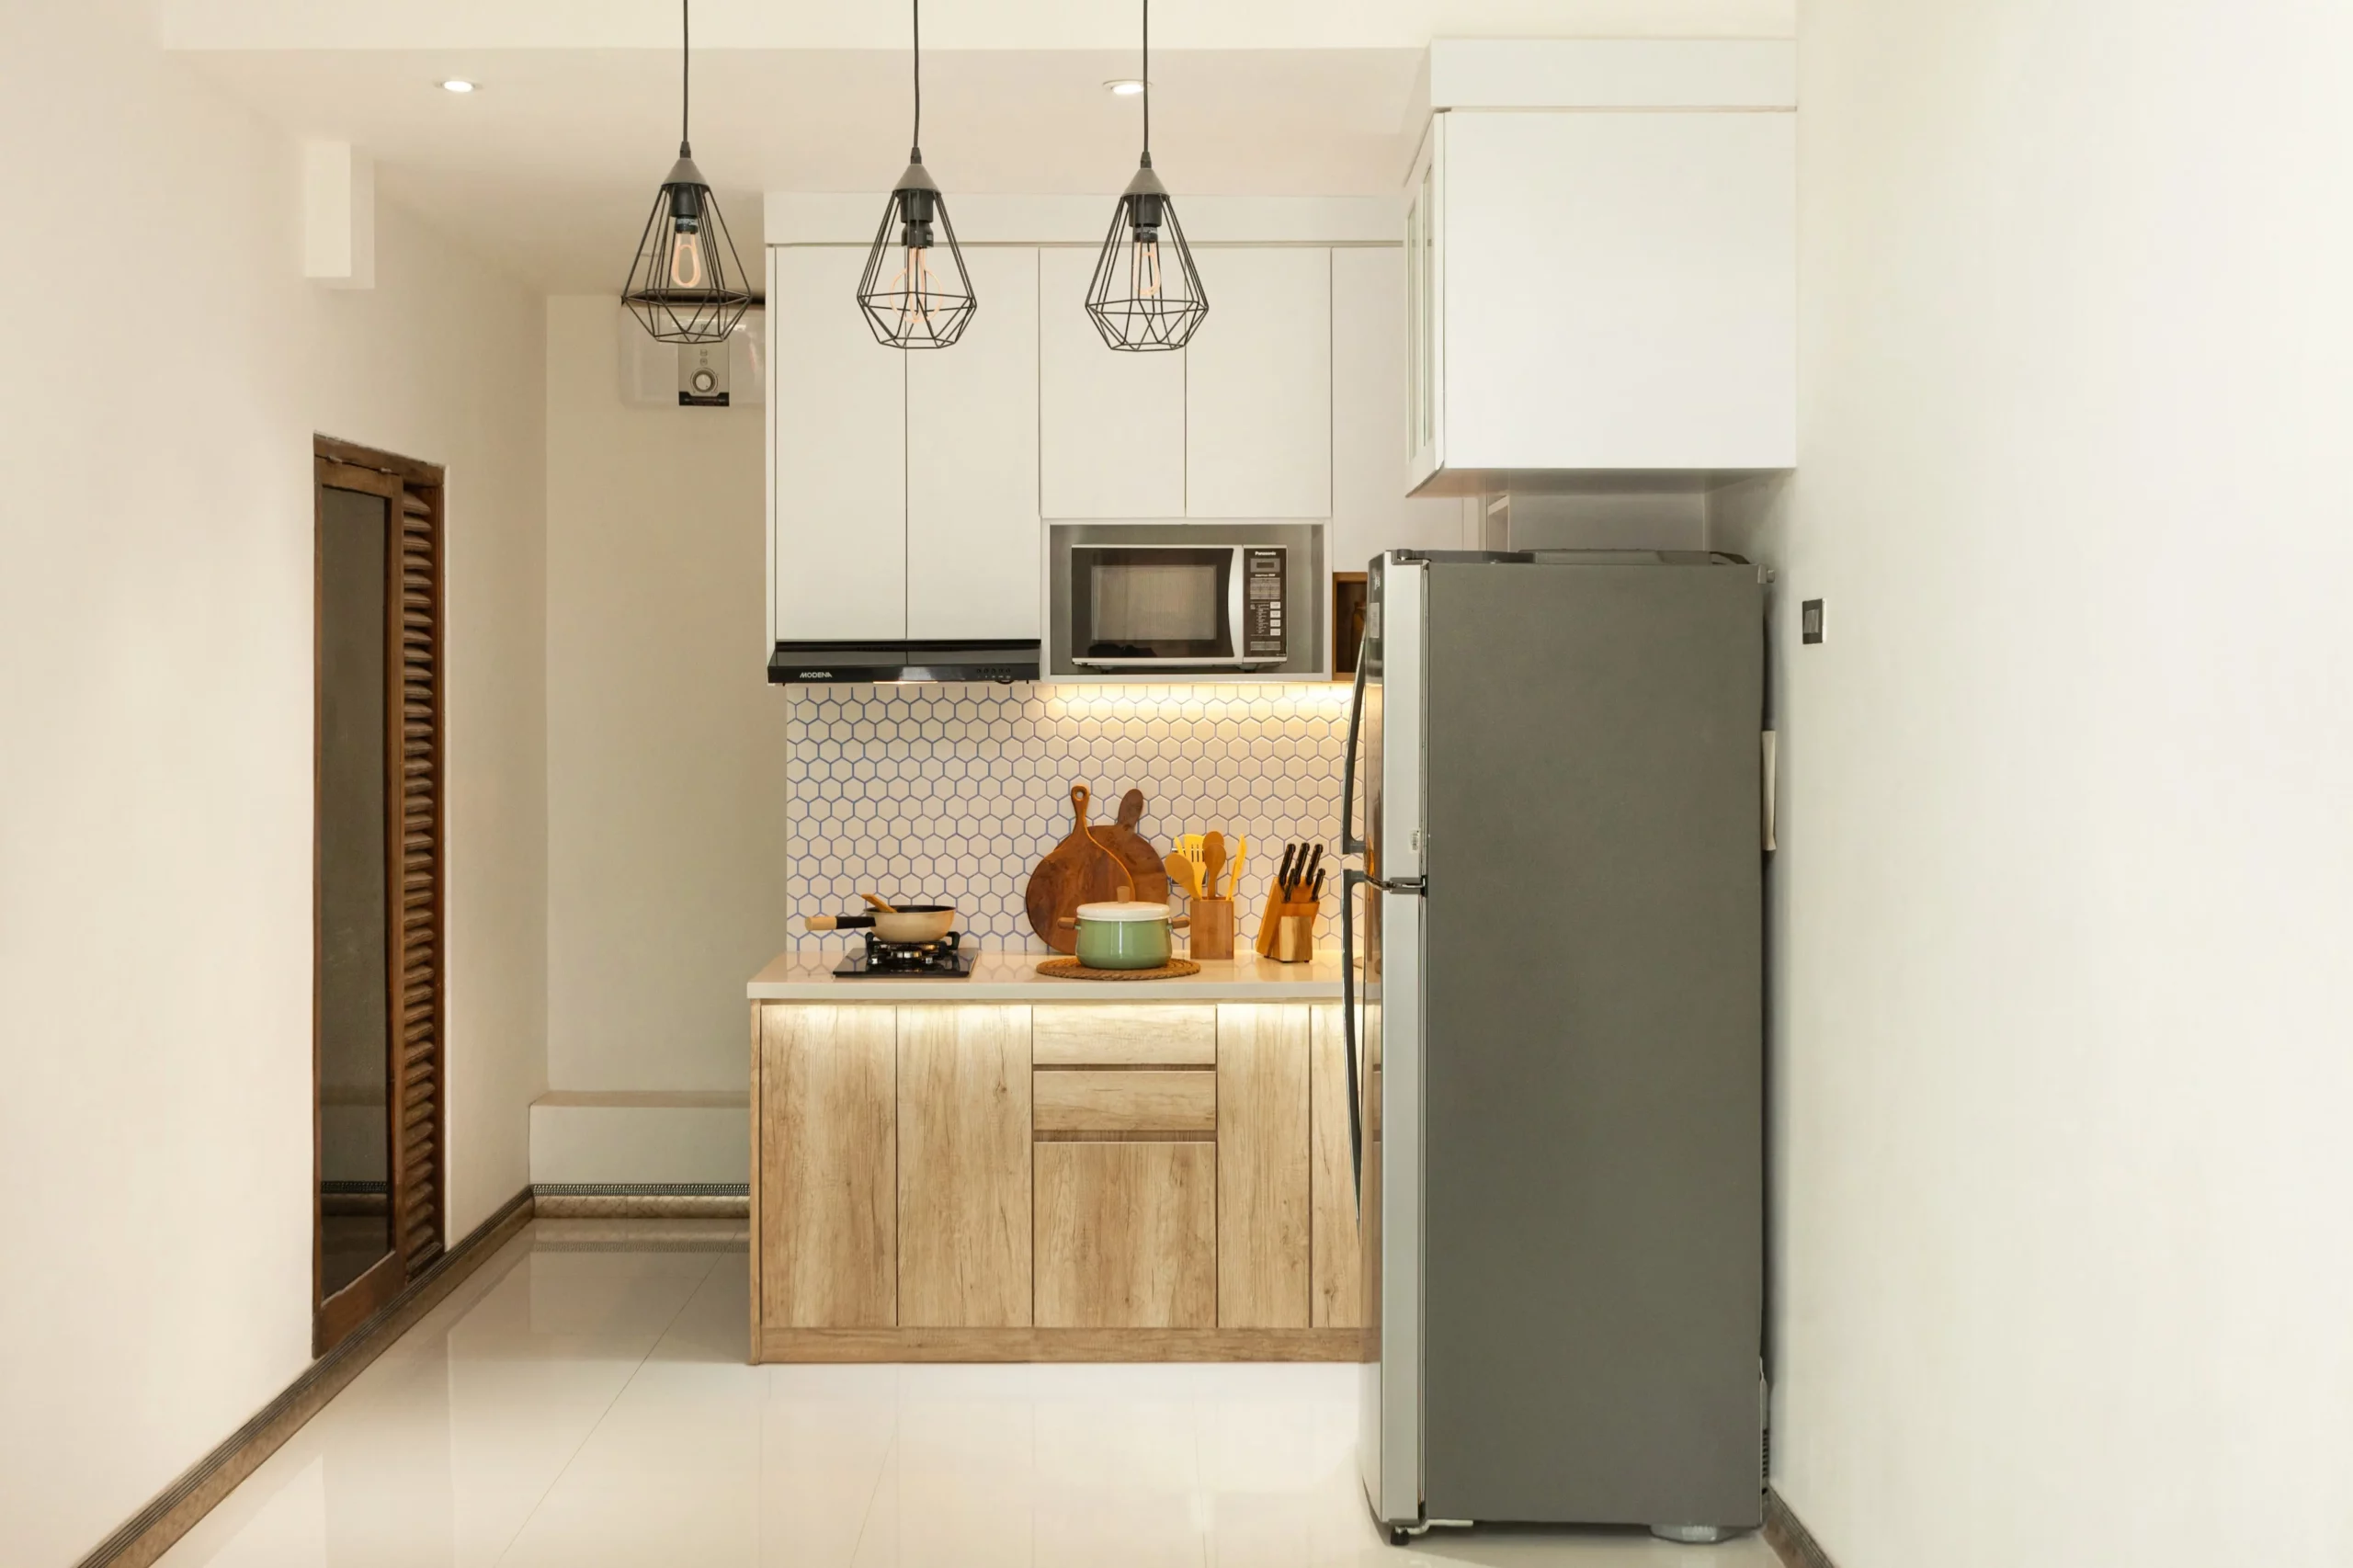
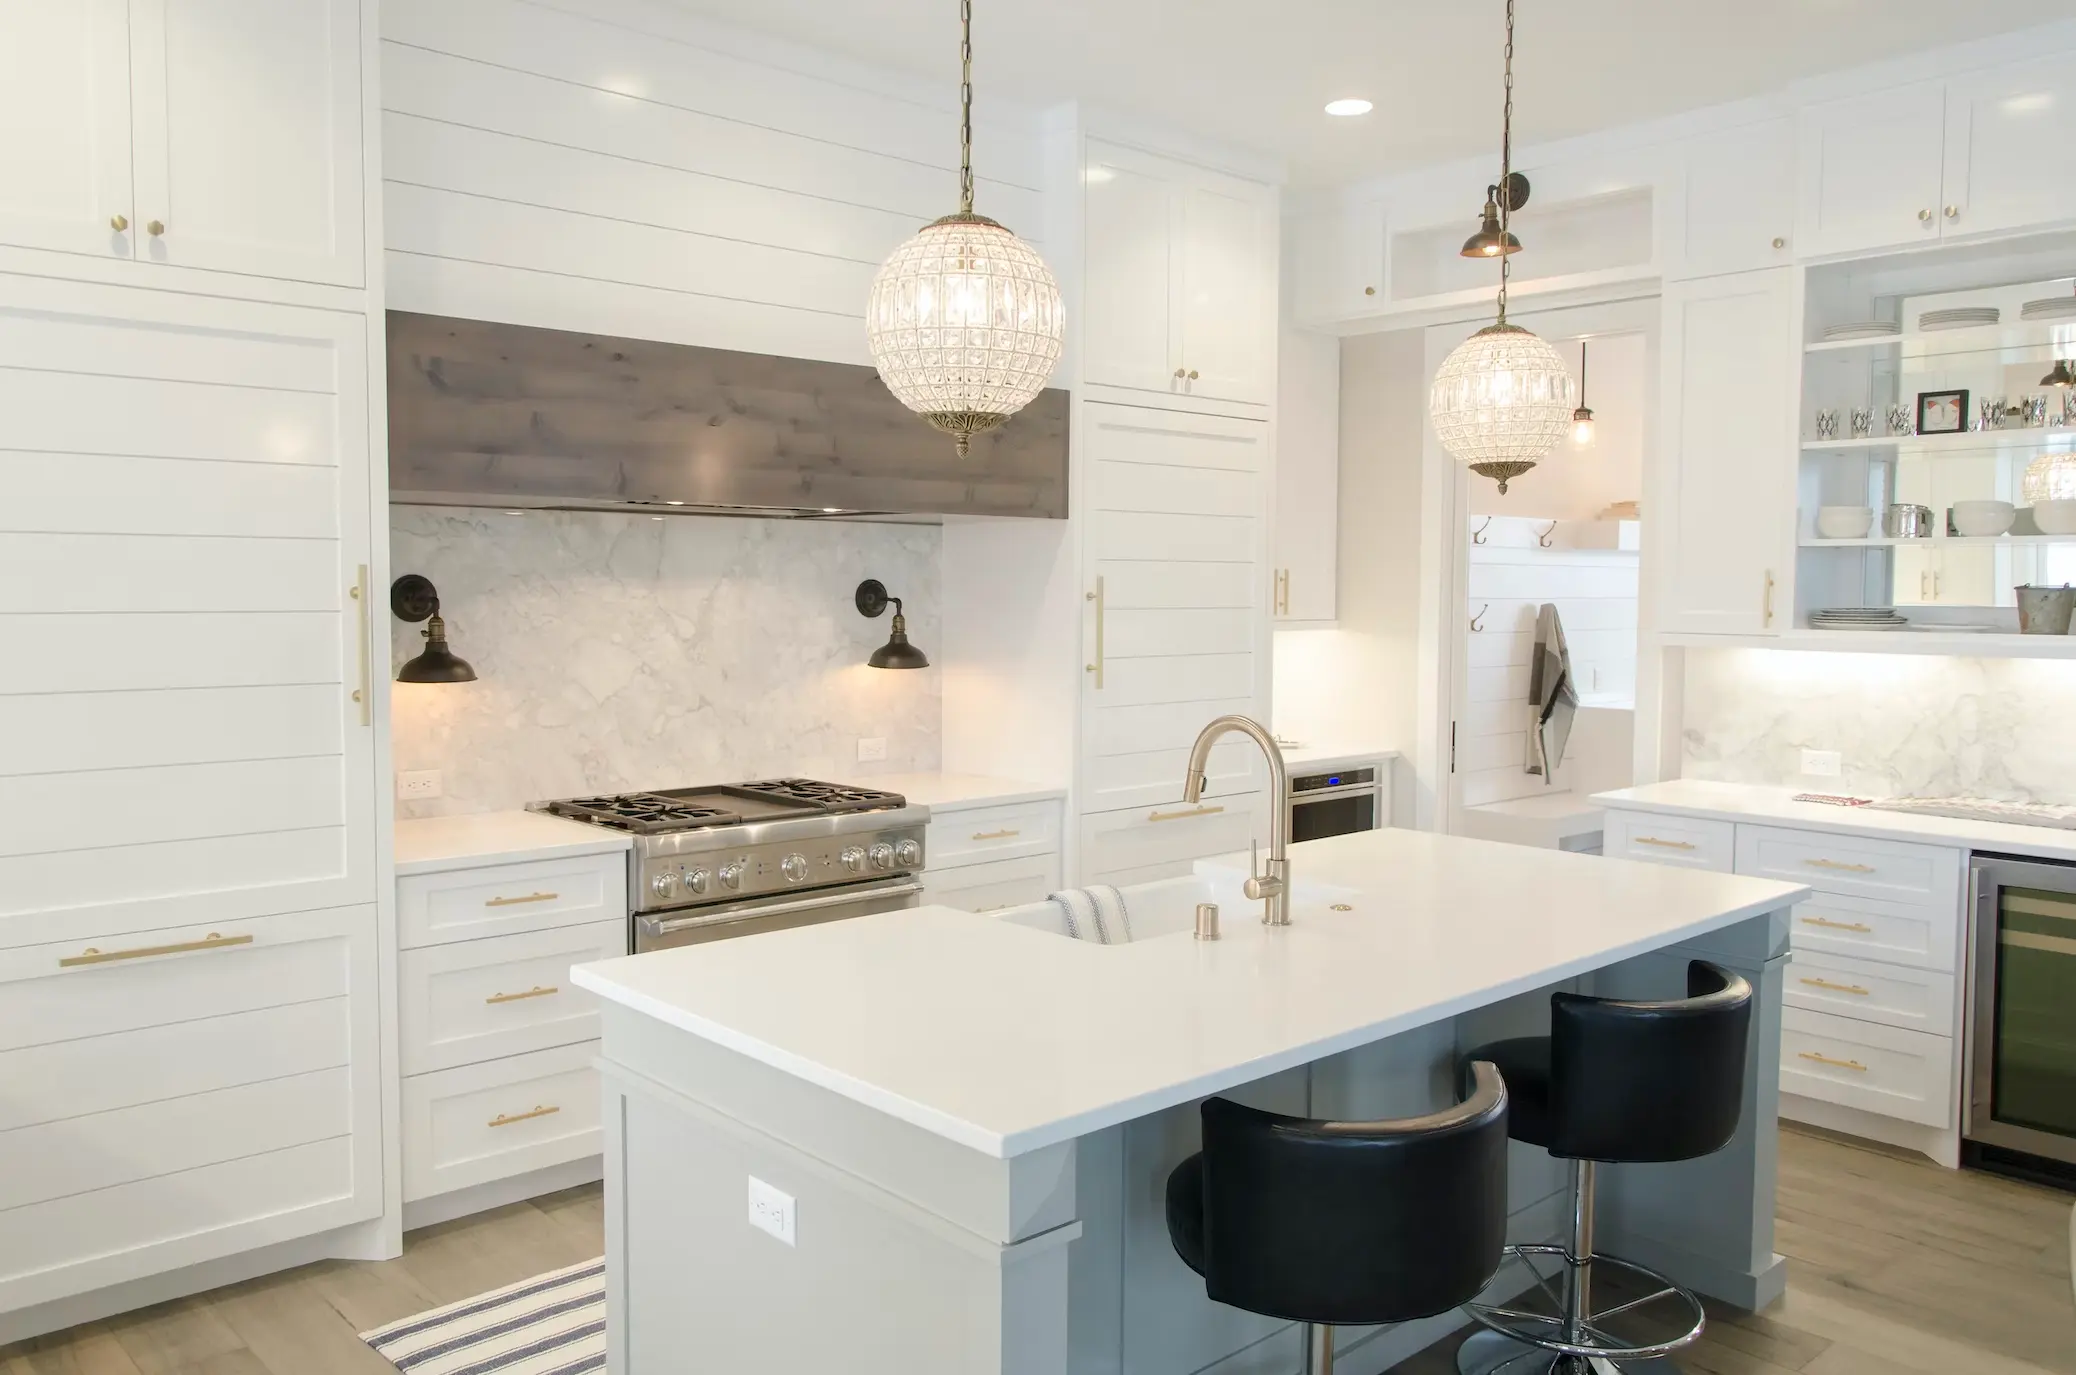
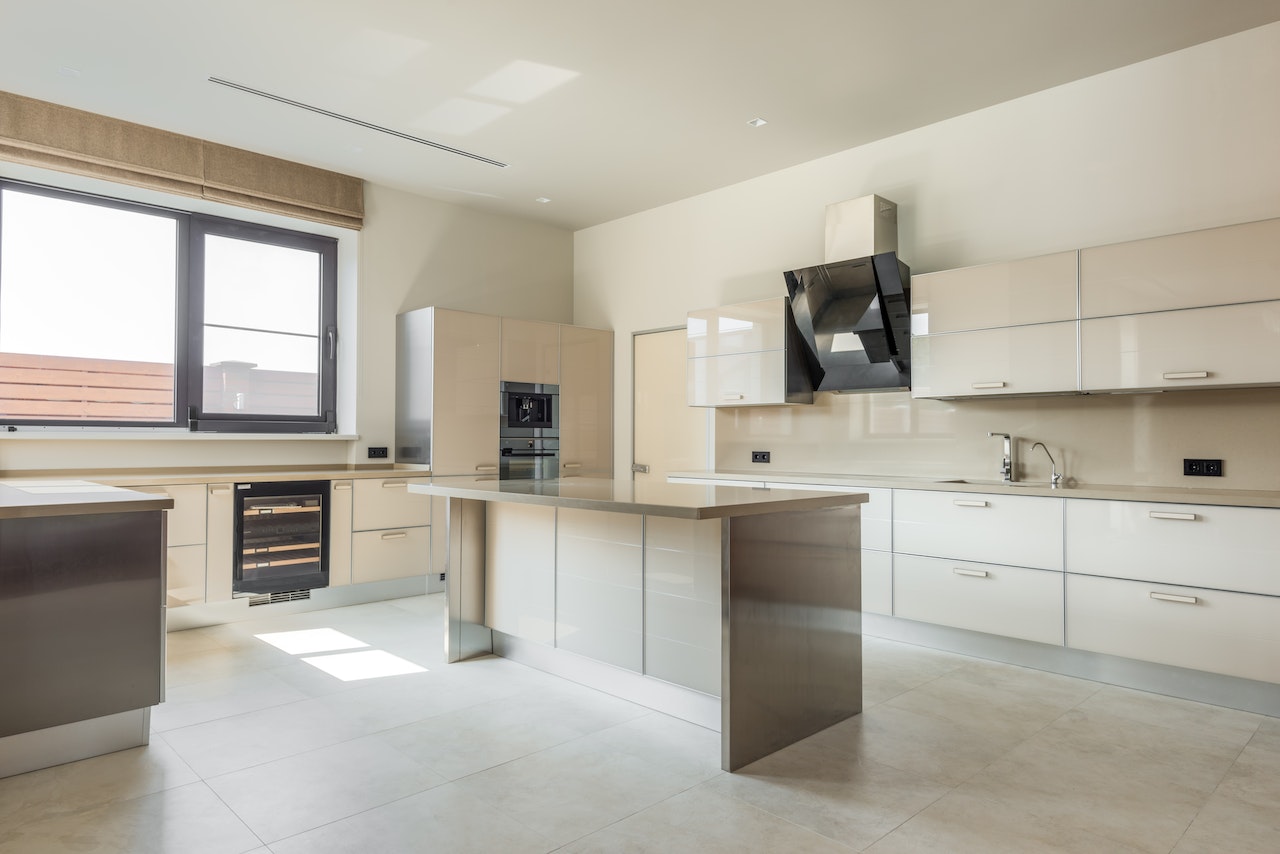
Painting your kitchen cabinets is a cost-effective way to refresh the look of your kitchen without the expense of a full renovation. With the right tools, materials, and techniques, you can achieve professional-looking results. In this guide, we’ll walk you through the steps to paint your kitchen cabinets and transform your space.
Preparation and Planning
- Evaluate Your Cabinets: Assess the condition of your cabinets and determine if any repairs or surface preparation are needed before painting.
- Choose the Right Paint: Select a high-quality paint suitable for kitchen cabinets, such as a durable enamel or latex paint with a semi-gloss or satin finish.
- Gather Supplies: Gather all the necessary supplies, including paint, primer, sandpaper, painter’s tape, brushes, rollers, and drop cloths.
Step-by-Step Painting Process
Maintaining Painted Cabinets
To keep your painted kitchen cabinets looking fresh and vibrant, follow these maintenance tips:
- Regular Cleaning: Wipe down the cabinets regularly with a damp cloth to remove dust, dirt, and grease buildup.
- Avoid Harsh Cleaners: Use mild soap and water for cleaning painted cabinets, avoiding harsh chemicals that can damage the paint finish.
- Handle with Care: Be mindful of sharp objects or abrasive materials that could scratch or chip the paint surface.
- Monitor for Wear: Keep an eye out for signs of wear or damage, such as chips, scratches, or peeling paint, and address them promptly to prevent further damage.
With proper preparation, careful application, and ongoing maintenance, painting your kitchen cabinets can be a rewarding DIY project that adds beauty and value to your home.
Proper maintenance is essential to preserving the beauty and longevity of your painted kitchen cabinets. Here are additional tips for keeping them in top condition:
- Avoid Excessive Moisture: Excess moisture can cause paint to bubble or peel. Wipe up spills promptly and ensure adequate ventilation in your kitchen to prevent moisture buildup.
- Protect Against Heat: Avoid placing hot pots or pans directly on painted cabinet surfaces, as heat can damage the paint finish. Use trivets or hot pads to protect the cabinets from heat exposure.
- Regular Inspection: Periodically inspect your painted cabinets for any signs of wear, such as cracks, chips, or discoloration. Address any issues promptly to prevent further damage and maintain the cabinet’s appearance.
- Touch-Up as Needed: Keep a small container of touch-up paint on hand for quick repairs. Touch up any areas where the paint has chipped or worn away to maintain a seamless finish.
Painting your kitchen cabinets is a cost-effective way to update your kitchen and breathe new life into the space. By following the steps outlined in this guide and practicing regular maintenance, you can achieve beautiful, long-lasting results that enhance the look and feel of your kitchen for years to come.
Remember to take your time, follow proper preparation and painting techniques, and choose high-quality materials for the best outcome. With patience and attention to detail, you can transform your kitchen cabinets and create a fresh, stylish look that reflects your personal taste and enhances your home’s value.
we will cover additional steps to complete the painting process and ensure professional-looking results:
Apply Primer
Before painting, apply a primer specifically designed for use on cabinets. Primer helps the paint adhere better to the surface and provides a smooth base for the paint color. Use a high-quality brush or roller to apply the primer evenly, and allow it to dry completely before proceeding.
Paint the Cabinets
Once the primer is dry, it’s time to paint your cabinets. Choose a high-quality paint in the color of your choice, preferably a semi-gloss or satin finish for easy cleaning. Apply the paint using long, even strokes, following the direction of the wood grain. Start with the cabinet frames, then move on to the doors and drawers. Allow the first coat to dry completely before applying a second coat for full coverage.
Add Finishing Touches
After the final coat of paint has dried, reinstall the cabinet hardware and rehang the doors and drawers. Take this opportunity to replace any outdated hardware with new knobs or handles for a fresh look. Once everything is back in place, step back and admire your newly painted kitchen cabinets!
Maintain Your Painted Cabinets
To keep your newly painted cabinets looking their best, practice regular maintenance and cleaning. Wipe down the surfaces with a mild soap and water solution as needed, and avoid using abrasive cleaners or scouring pads that can scratch the paint finish. With proper care, your painted cabinets will maintain their beauty and durability for years to come.
Painting your kitchen cabinets is a rewarding DIY project that can transform the look and feel of your kitchen without the need for a full remodel. By following these step-by-step instructions and tips, you can achieve professional-looking results and create a fresh, updated space that you’ll love spending time in.
Whether you’re refreshing outdated cabinets or customizing new ones, painting is a budget-friendly way to personalize your kitchen and express your style. So gather your supplies, roll up your sleeves, and get ready to enjoy the satisfaction of a job well done!